Let's take a photo:
(Chemistry) (Photography)It’s been almost 200 years since the oldest surviving photograph was taken:
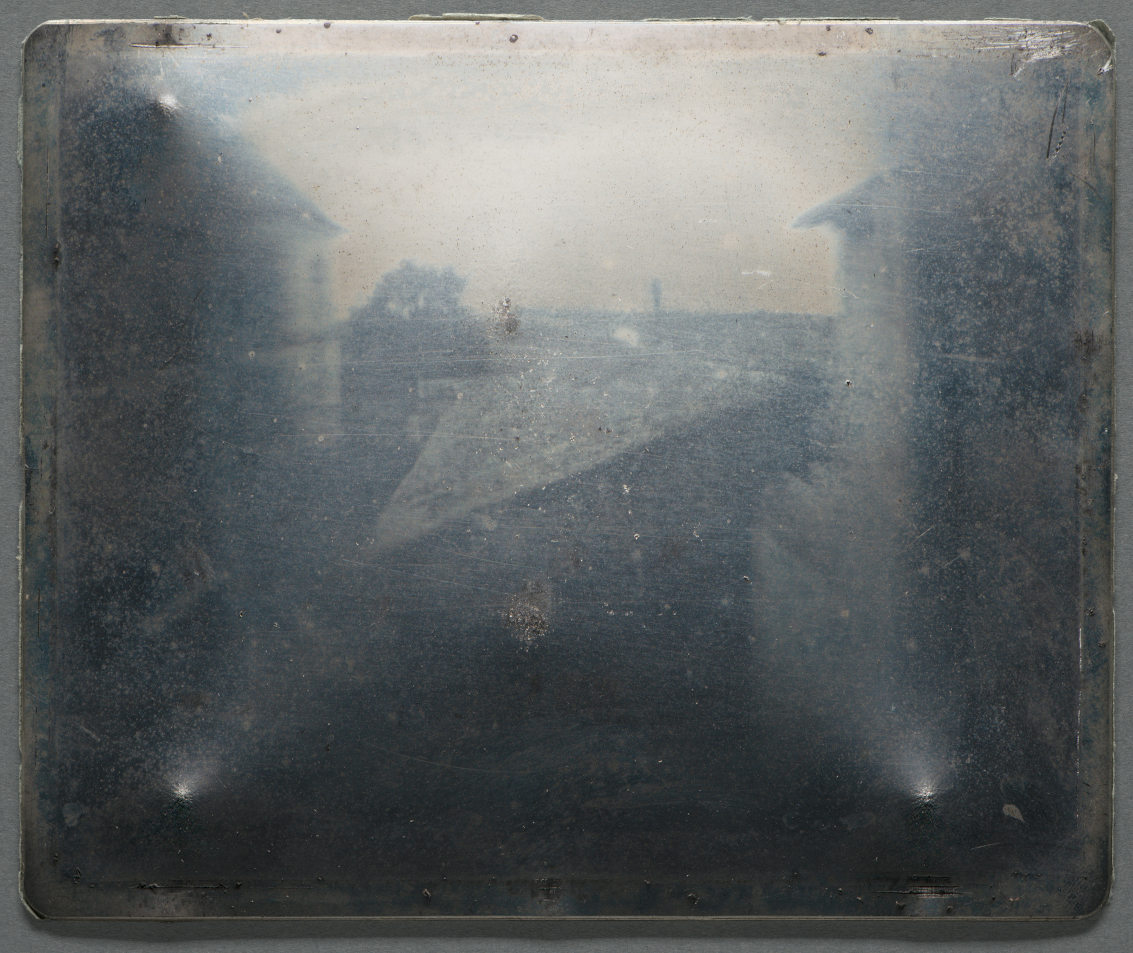
This isn’t a description of reality, like a painting or a sculpture. This is a piece of reality caught in a trap and pinned up for viewing – even two centuries later.
To take our own pictures, we’ll need a light sensitive material: I recommend using silver chloride or iron citrate because they are relatively forgiving and don’t require any super nasty chemicals.
One catch is that a lot of nicer paper has a base added, which can interfere with the chemistry: If your paper says something about being “buffered” or “archival”, add some citric acid to the first solution or soak the paper in vinegar before using it.
Silver:
For the silver chloride process, brush some 10% (by weight) silver nitrate solution onto watercolor paper, let it dry, and apply 3% table salt solution:
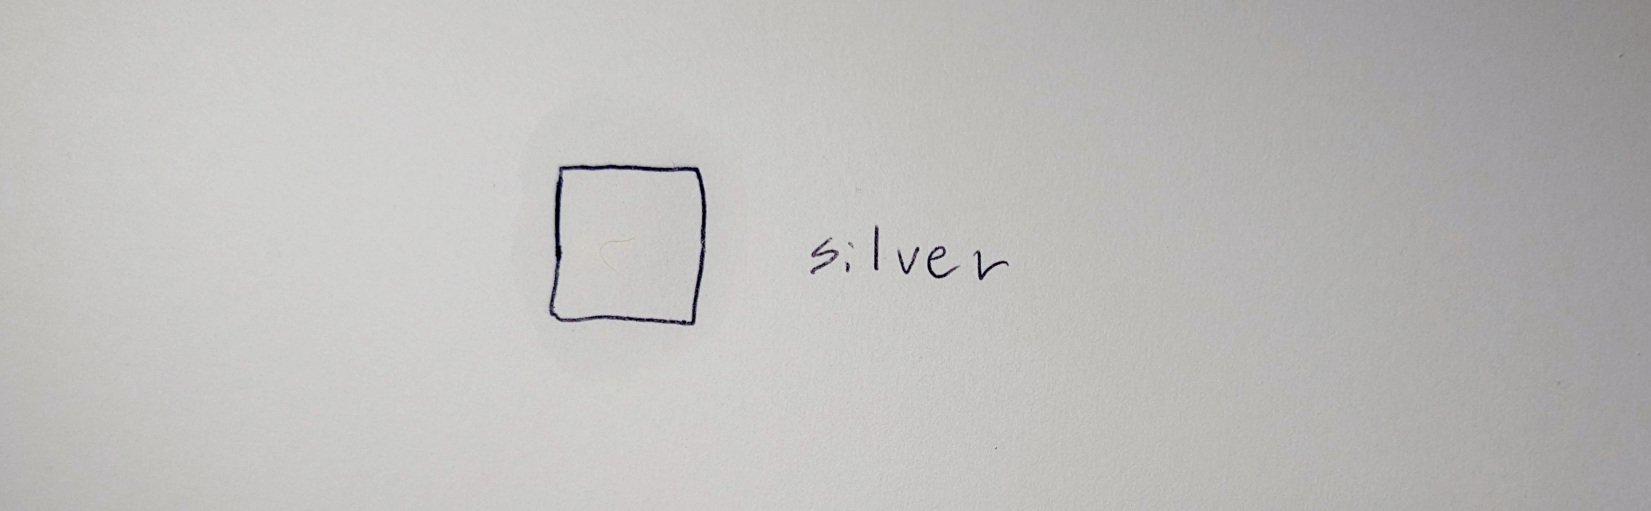
The two salts react to white colored silver chloride, but when exposed to light, the precipitate turns black due to the formation of finely powdered silver:
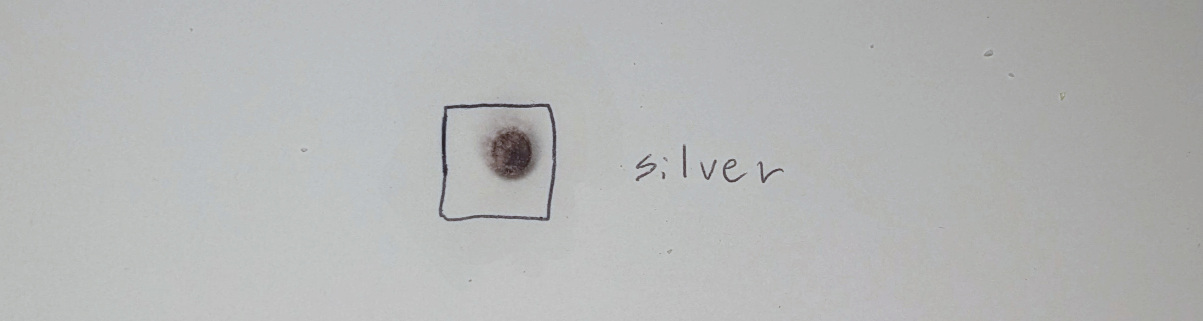
To end the exposure, wash the paper in water followed by a 5% sodium thiosulfate solution to remove remaining silver chloride:
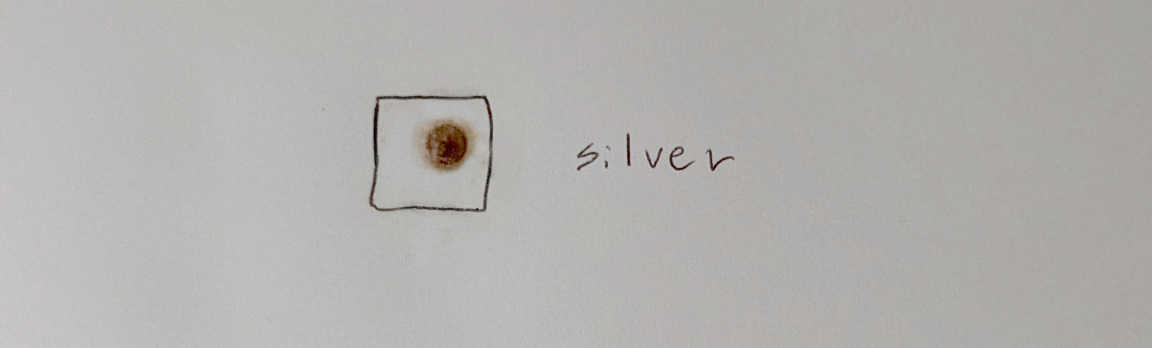
I recommend doing a final wash with water to remove any residual chemicals.
Everything between applying the table salt and thiosulfate should be done in a dimly lit environment to avoid unintended darkening. The sensitivity is quite low by photographic standards, so you don’t need a dark room, but having a dim room is a good idea.
If washed to remove residual silver nitrate, and protected from light, the sensitized paper will stay usable for years. Just don’t let it directly touch any metals… and mark which side was treated, because the front and back look identical once dry.
Iron/Cyanotype:
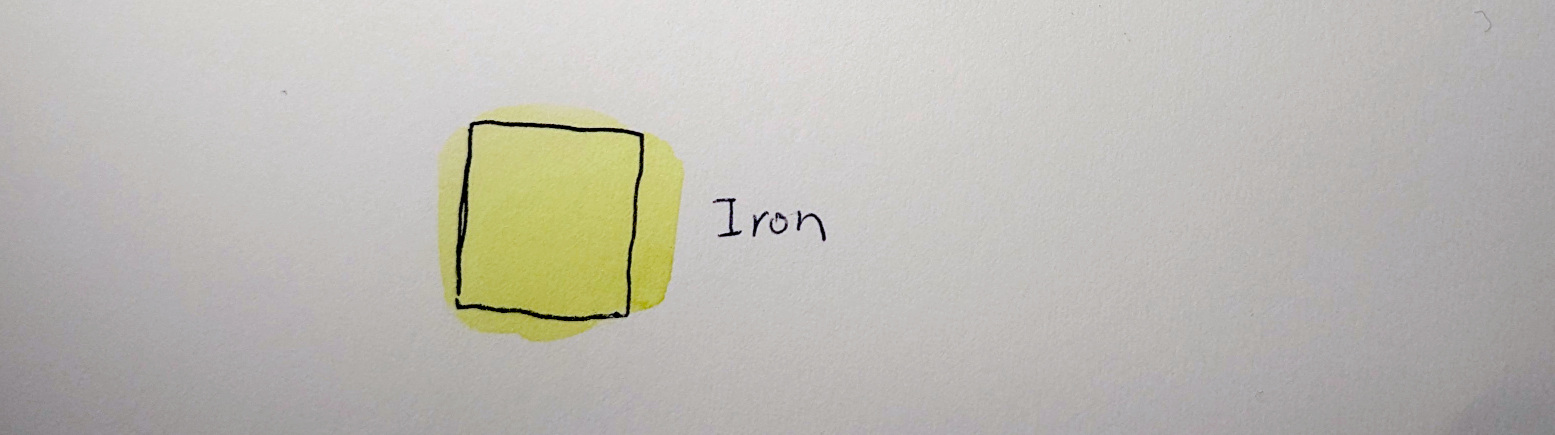
For the iron based process, paint a solution containing 5 parts ferric ammonium citrate and 2 parts potassium ferricyanide onto paper:
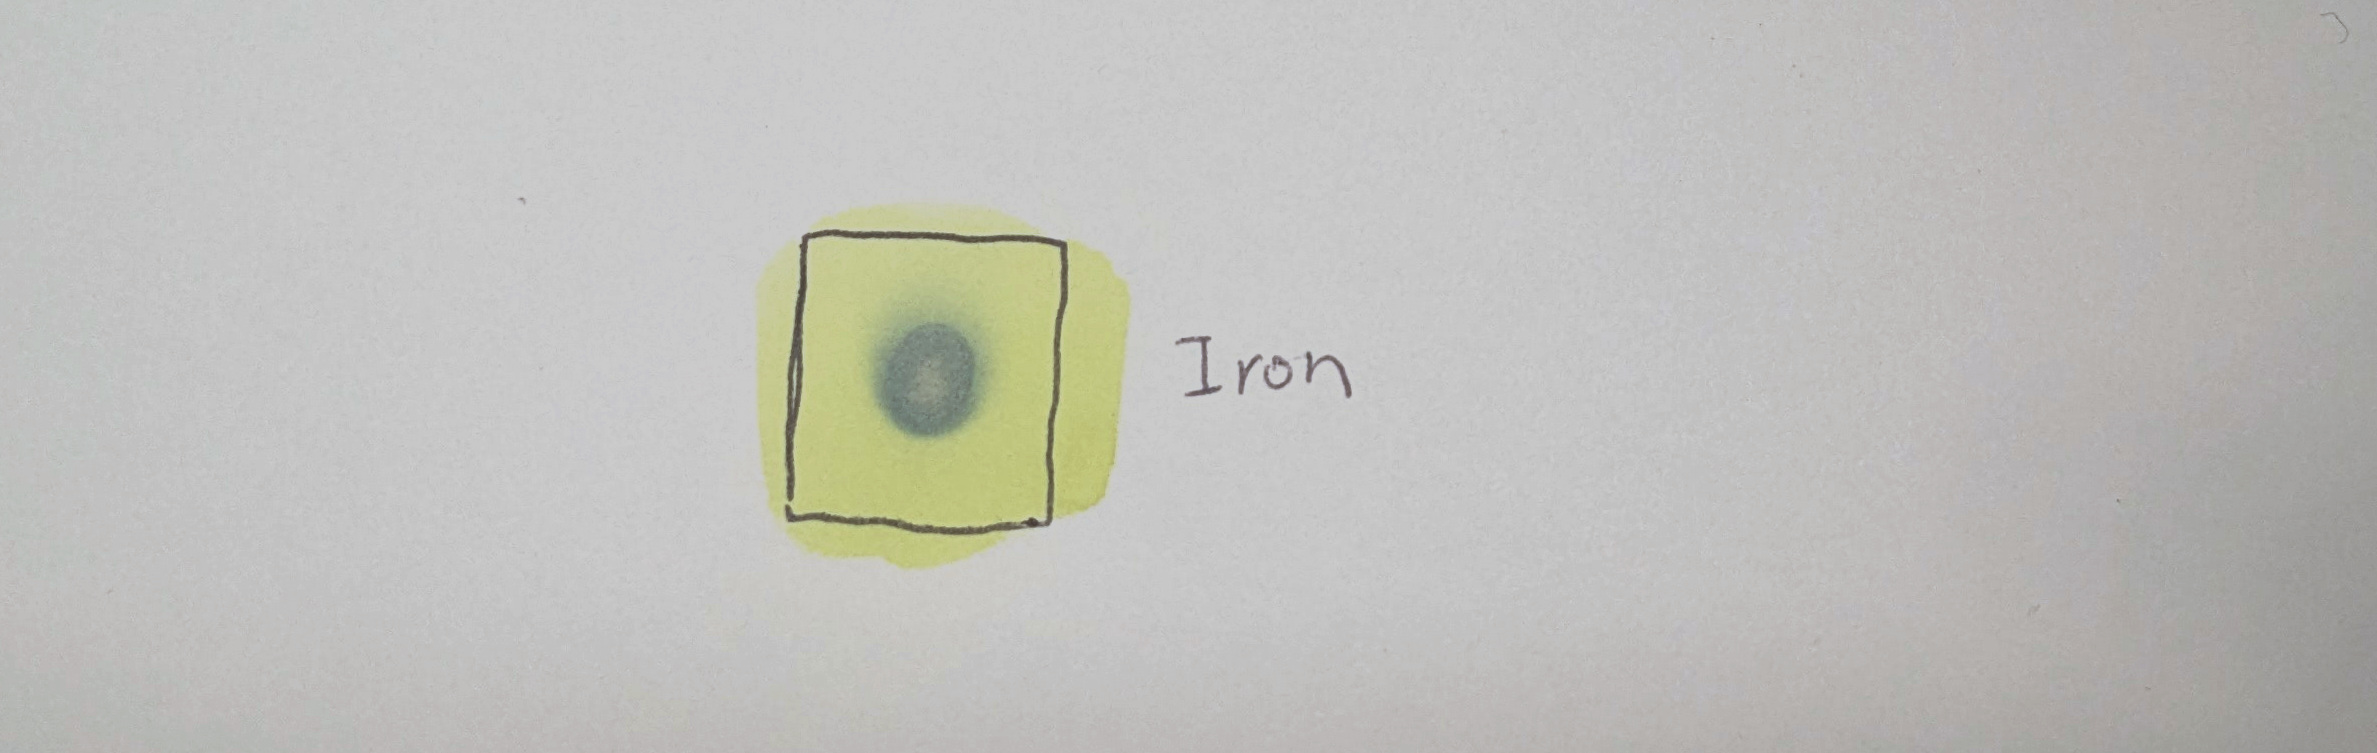
When exposed to light, the citrate reduces the iron from +3 to +2 ions, which react with the ferricyanide to from Prussian blue:
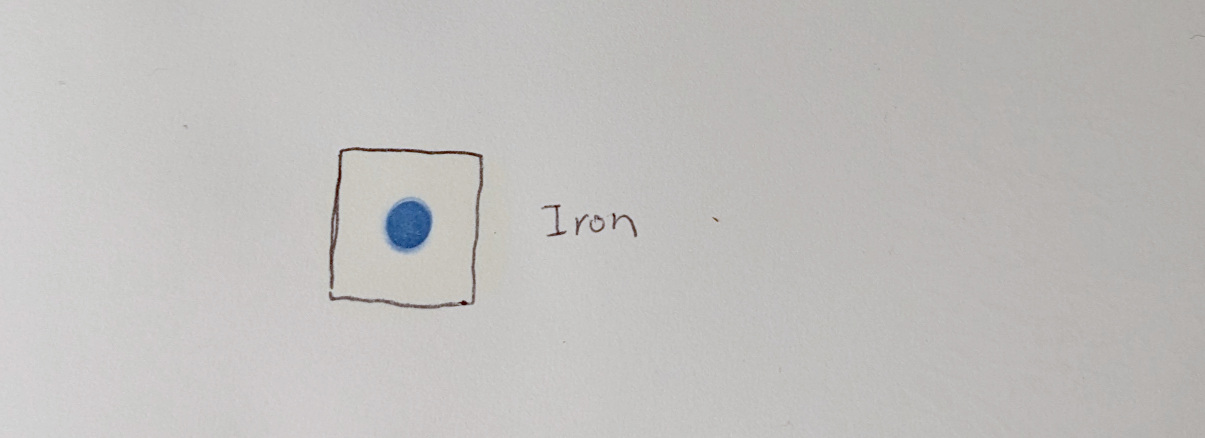
Because the Prussian blue is insoluble, the residual chemicals can be removed by washing the paper in water:
When overexposed, some of the Prussian blue can be reduced, bleaching the color. In this case, the blue can be restored with dilute hydrogen peroxide or by waiting a few days for the air to do its thing.
The ferric ammonium citrate must be protected from light, even while it’s still in the bottle. If kept in the dark, the chemicals should last for years, but the solutions can develop mold. The paper is highly variable, and can last anywhere from days to years depending on what’s in it.
Contact printing:
The easiest way to record an object is to place it directly on the sensitive paper and shine a light on it:

For the light source, I recommend the sun (fastest), UV lamps or bright white lights (slowest).
You can also print out inverted image onto transparency sheet and expose though it:
(This also works with film negatives if you have any)
Another option is to draw something onto clear glass or plastic, and use the paper to make copies. Doing this was actually quite popular before computers and it’s why so many old technical diagrams are blue.
Using a camera:
If you’ve played with a magnifying glass, you’ve probably seen a lens projecting an image – if not, you’re part of today’s lucky ten thousand:
Hold a lens parallel to a piece of white paper, and adjust the distance until an image of what the lens is facing forms on the paper. I find this works the best when pointing the lens out a window on a sunny day.
… so now we have a way to project an image of an object and a way to permanently record an image falling on paper:

The key design parameter is the distance between the lens and photographic paper: if it’s wrong, everything will be out of focus. You’ll need to measure the a good distance for your lens, and leave some adjustability for focusing.
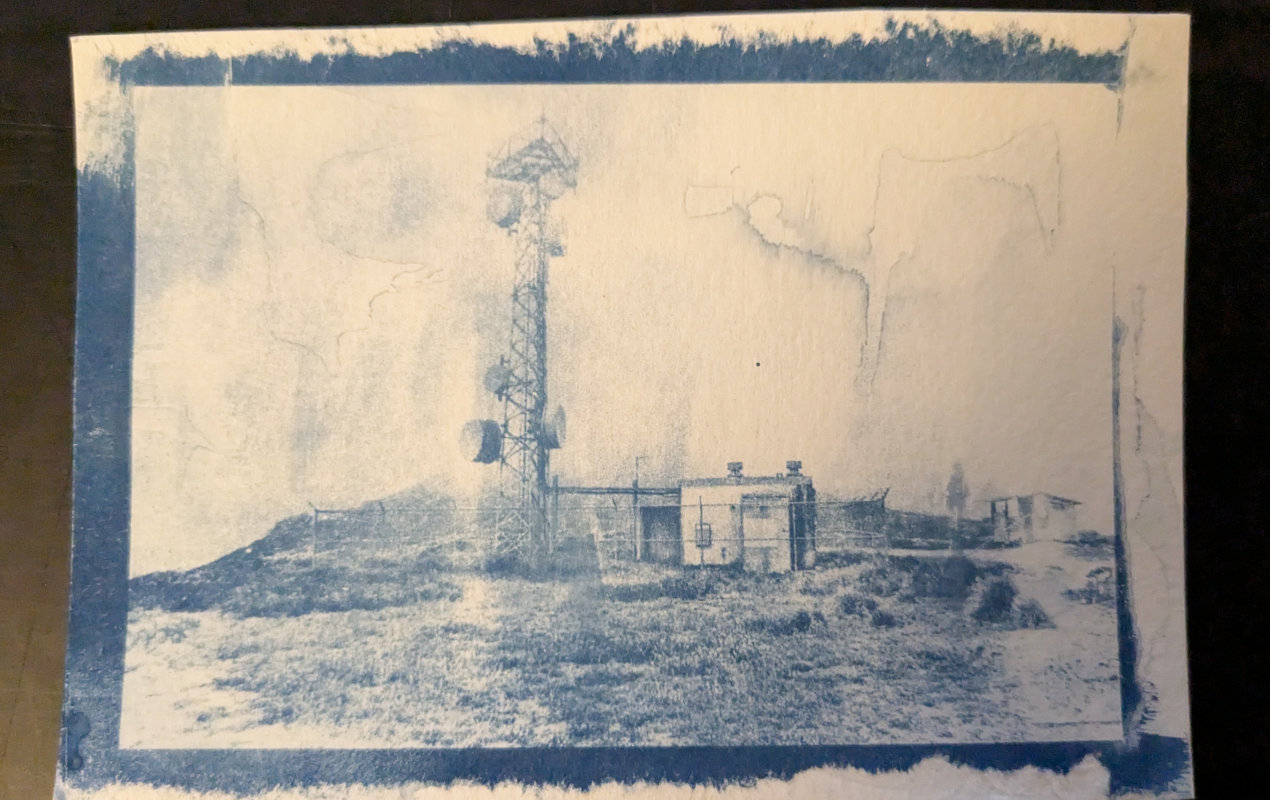
Before taking a photo, go somewhere dark, load in a piece of treated paper, close the camera and cover the lens. When your ready to take a picture, just uncover the lens and wait. Once the exposure is done, cover the lens and take it somewhere dark to process the paper:
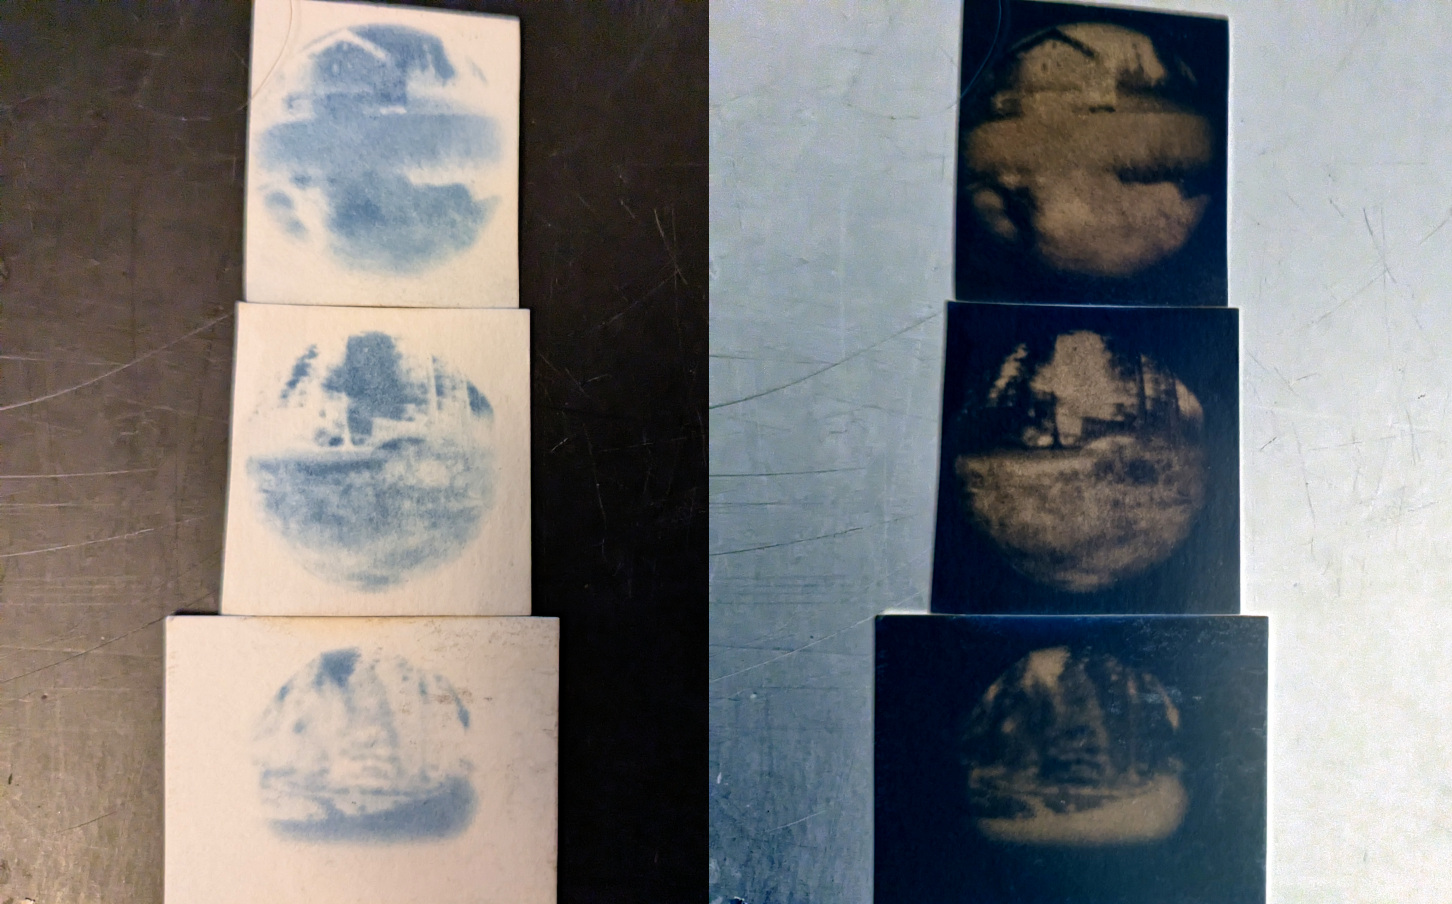
From top to bottom:
A house, parking and a car.
A rock in some grass.
A spruce tree next to a road.
You really need a lot of light for this to work. Direct sunlight or bright long wave UV illumination is best.
Lenses with a longer focal length will produce a larger image, and can record more detail, but the light will be spread out. However, physically larger lenses will catch more light. Avoid lenses that are small and have a long focal length, because those will need very long exposures.
For my lens, I used a 25mm Plössl telescope eyepiece, which is small, but has a correspondingly short focal length. Even so, I still had to leave the camera for 45 minutes in direct sunlight. On the bright side, I didn’t need a viewfinder because I could just look at the photographic paper to check on focus and framing.
If your images have too much contrast, you can try pre-flashing, where the whole paper is exposed to a bit of light outside the camera. When done right, this gets the paper out of the flat region of the transfer function and prevents the darker areas of the image from being clipped.